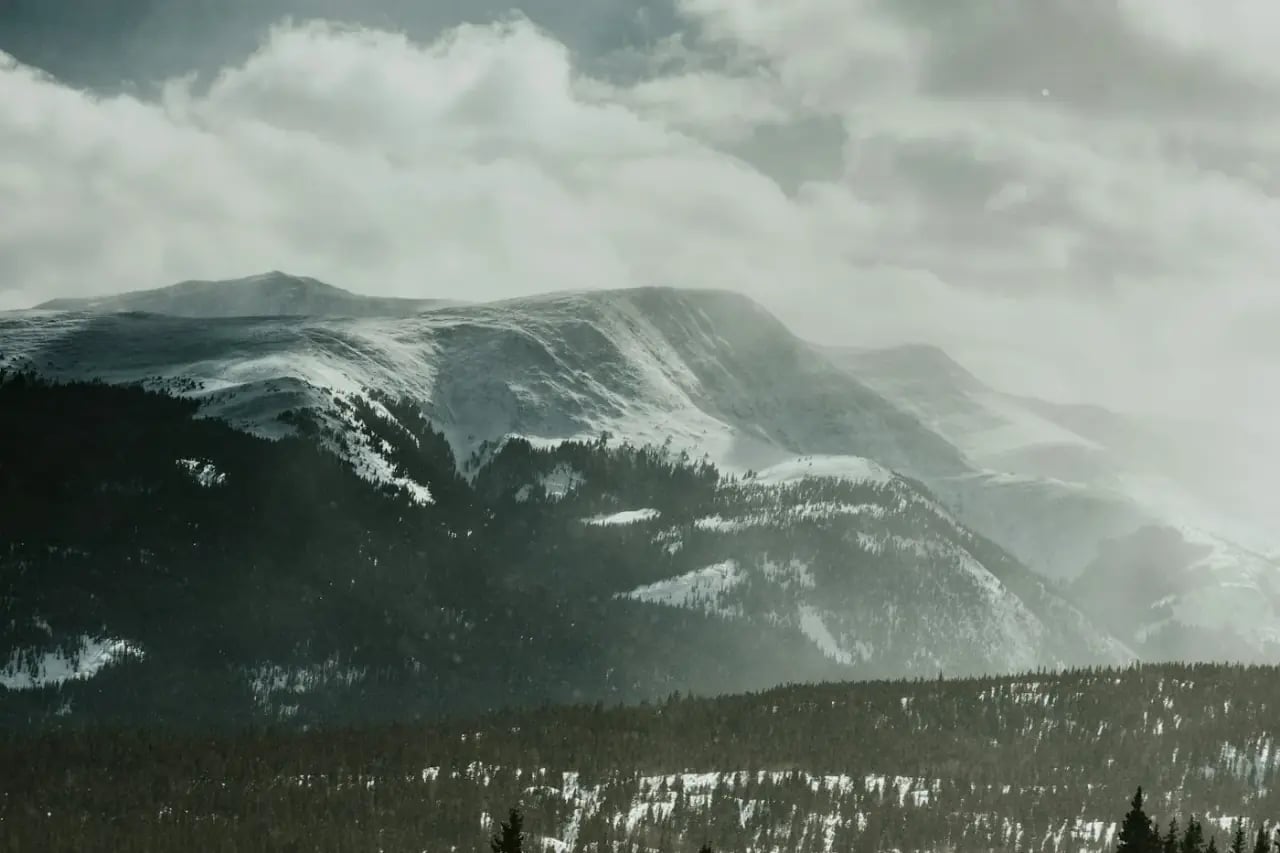
How to Ski in Flat Light, Fog & Heavy Snowfall: Goggle Lens Colors and Why Tree-Lined Runs Can Help
Learn how to ski in flat light with practical lens, fogging and route-choice tips for Myoko Kogen, Northstar and Shiga Kogen. Plan private coaching.
Ski Resort Lessons
The slope looks smooth until your skis reach a bump you never saw. A moment later, snowfall hides the next trail marker and your goggles begin to mist from the inside.
Learning how to ski in flat light starts with recognizing what is limiting your vision. Use a lens appropriate to the light, manage condensation, reduce the challenge and choose a familiar open route that you can actually see well enough to ski. If you cannot identify the terrain and stop within the visible space ahead, a different lens is not permission to continue.
Tree-lined pistes can provide useful visual references, but that does not mean entering the trees or riding close to trunks. The objective is a more readable route within your ability, not finding a shortcut into unmarked terrain.
Flat light, fog and fogged goggles are different problems
| Problem | What you may notice | What needs attention |
|---|---|---|
| Flat light | The snow looks featureless and changes in slope are difficult to judge. | Contrast, terrain choice and whether you can still move in control. |
| Fog or dense snowfall | Your view ahead is restricted, even through a clear lens. | Visibility, speed, route choice and whether skiing should continue. |
| Condensation inside goggles | A misted lens blocks your view regardless of the terrain beyond it. | Ventilation, moisture and the manufacturer's care instructions. |
| Snow or water on the outer lens | Droplets or snow obscure parts of the view. | Stop safely and clear the lens using the recommended method. |
Flat light is an optical condition associated with reduced terrain contrast. The FAA describes the loss of visual terrain cues over snow in its aviation guidance; that explains the visual phenomenon, not a skiing procedure.
Several problems can occur together. A storm lens may help with the available light while doing nothing to remove condensation, and clear goggles cannot make dense fog transparent.
Choose a low-light lens by its specification, not just its color
Understand visible light transmission
Visible light transmission, usually called VLT, describes how much light passes through the lens. A higher VLT lets more light through; a lower VLT lets less through.
Smith's goggle-selection guide explains why lighter, higher-VLT lenses are suited to cloudy conditions and darker, lower-VLT options to bright sunshine. Check the specification for the exact lens rather than assuming every blue, pink or mirrored lens behaves alike.
A manufacturer-designated storm or low-light lens is a useful starting category. It is not a guarantee of safe visibility, and the lens still needs to fit your goggles correctly.
What do yellow, amber and rose tints do?
Yellow, amber and rose or pink tints commonly appear in low-light options. Julbo's lens guidance describes how these tint choices can support contrast in cloudy or low-light conditions.
Do not turn that into a rule that yellow always wins or a pink lens must be a storm lens. Different products combine tint, light transmission and coatings differently. Compare the intended conditions and specifications for the actual lens you own.
| Lens description | Sensible use of the information | Avoid assuming |
|---|---|---|
| Manufacturer-designated low-light or storm lens | Check its VLT, compatibility and intended conditions. | That it will reveal every bump in a whiteout. |
| Yellow, amber or rose tint | Consider it alongside the lens's stated low-light performance. | That color alone establishes the light transmission. |
| Dark sun lens | Reassess if the day turns dim or stormy. | That the lens suitable for yesterday's sunshine is suitable today. |
| Photochromic lens | Check the manufacturer's stated operating range and use guidance. | That every model covers every possible light condition. |
If you carry a spare lens, practice changing it indoors and keep it protected and dry. Make the change in a sheltered place, not while balancing in a lift line with loose equipment.
Prevent goggle condensation before it blocks your view
Fog inside the lens is not the same as fog over the mountain. Treat it as an equipment and moisture problem before changing your route.
Practical steps include keeping ventilation clear, avoiding clothing that directs warm breath into the goggles, and drying equipment according to its care instructions. Check helmet and goggle compatibility so the fit does not obstruct the intended ventilation.
If the inner surface becomes wet, do not scrub it with a glove. Follow the manufacturer's cleaning method; inner anti-fog treatments can be damaged by inappropriate wiping. Smith's fog-prevention guidance explains these care and ventilation issues.
If you cannot restore a clear view, stop skiing and arrange an appropriate way to finish. Riding without suitable eye protection through wind and blowing snow is not a reliable solution to misted goggles.
Why tree-lined pistes can provide better visual references
On an open, pale snowfield, the ground and sky may offer very few useful reference points. Visible trees beside a marked piste can help you recognize the route and judge the surroundings when conditions permit.
That is different from skiing among trees. Stay within an open, suitable marked run and maintain a margin from its edges. A tree line does not reveal every roller, icy patch or person ahead, and snowfall or fog can still remove the view entirely.
Tree wells and deep loose snow introduce additional hazards near trees. Deep Snow Safety explains how a person can become trapped and suffocate after falling into deep snow or a tree well. Better visual contrast is not a reason to leave the piste or follow tracks into the woods.
Tree-lined does not mean tree skiing. For a low-visibility lesson, ask about an appropriate open piste, not a wooded shortcut.
Adjust the session to the visibility you actually have
Simplify the terrain before changing your technique
Choose a familiar route appropriate to your ability and the current surface. An easy groomer can still be unsuitable if you cannot see it adequately. A guide's familiarity does not give you the vision needed to control your own descent.
Avoid adding a new, steeper pitch to a day when you are already struggling to read the snow. Ask the instructor to reassess the route before taking a lift that commits you to a harder way down.
Keep speed and spacing manageable
Move only at a speed that lets you respond to what you can see. Leave room for other people and avoid concentrating so closely on someone else's ski tails that you stop observing your own path.
The NSAA Responsibility Code requires control, the ability to stop or avoid people and objects, and stopping where you are visible without restricting traffic. Poor visibility makes those responsibilities harder, not optional.
Plan short sections and visible stopping points
Agree on the route and meeting points before starting. Stop only where it is appropriate and visible, avoiding blind rollovers, narrow passages and busy junctions.
If the next section cannot be seen well enough, do not keep descending by guesswork. Stop safely where possible and contact your instructor, ski patrol or the resort's assistance service to arrange help. Do not assume walking down an unseen route is safer.
There is no universal distance or goggle specification that guarantees a safe descent. Conditions, terrain, other people and your ability all matter.
Put the plan into context: Myoko Kogen, Northstar and Shiga Kogen
Myoko Kogen: choose the specific ski area and route
Myoko Kogen includes several ski areas. A lesson based around Akakura Onsen is not the same itinerary as one at Myoko Suginohara, so agree on the destination and appropriate practice terrain before arrival.
During snowfall, ask which open piste provides a manageable combination of gradient, visibility and access for your level. Do not interpret a powder forecast as an instruction to leave marked terrain.
Arrange private lessons in Myoko Kogen and share your experience, language preference and concerns about visibility. Confirm the meeting point, availability and quote for your dates through the booking process and WhatsApp.
Northstar: a familiar learning route can be enough
Easy Street is a named beginner route at Northstar. It is a useful starting point for a conversation with your instructor, not a promise that the route will be clear, open or suitable in every storm.
Ask the coach to choose an appropriate marked route after assessing the day's conditions. The objective can be controlled practice on familiar terrain rather than a new lift or a longer descent. Book private ski or snowboard lessons in Northstar around that goal.
Shiga Kogen: limit unnecessary connections in poor visibility
Ichinose Family is one of Shiga Kogen's ski areas. Discuss a suitable local practice plan rather than assuming a day of low visibility is the right time to explore many connecting sectors.
Confirm the complete route, how to finish and what happens if the weather worsens. When arranging private lessons in Shiga Kogen, request a quote and availability for your chosen dates and base.
Destination names checked November 3, 2026, against published Northstar, Myoko-area and Shiga Kogen information. They identify places to discuss, not live opening status or a guarantee of visibility.
What private coaching can and cannot change
A private instructor can reassess your task, select an appropriate route and help you recognize when the session should change. You can explain that you cannot read the slope or need to stop without trying to keep pace with a commercial group of ten unfamiliar people.
Instruction entirely in English, Spanish or Portuguese helps you understand the plan and communicate discomfort. A coach can address a tiring stance and reduce unnecessary effort, but cannot guarantee visibility, prevent every injury or make closed terrain available.
Ski Resort Lessons is an independent online platform connecting clients with qualified, experienced independent ski and snowboard instructors. It is not the resort-owned official ski school.
Private lesson prices in the United States and Canada
Sessions start at $449 USD for a three-hour half day or $599 USD for a six-hour full day, for one person. Add $100 USD for the second participant and $50 USD for each additional participant, up to four beginners or six intermediate or advanced participants.
Four beginners sharing a three-hour session pay $649 USD total, or $162.25 USD per person. Share with people whose level and goals suit the same lesson. A full-day booking is not a reason to continue when you cannot see adequately.
Coordinate meeting points, passes and equipment rental directly by WhatsApp before the session. Passes and equipment are separate arrangements. For Japan, request the quote for your resort and dates rather than applying North American prices.
SRL's 100% Weather Guarantee provides free rescheduling or a full refund if the resort closes its slopes because of a storm. It does not automatically apply to every foggy period, low-contrast run or decision to finish early.
Include winter-sports medical cover in a storm-day plan
Poor visibility can complicate terrain assessment and avoiding other slope users. A fall or collision may require imaging, ambulance transport or hospital care beyond the first clinic consultation.
For a documented Canadian example, BC Emergency Health Services lists CAD 848 for ground ambulance transport and CAD 4,394 per hour for helicopter ambulance service for people without provincial medical coverage. See the published ambulance fees, checked November 3, 2026. Rates may change.
These are transport charges, not the price of a routine base-clinic visit or a quote for Northstar or Japan. They illustrate how a serious incident can involve thousands before all treatment costs are known. They do not mean every minor accident has that cost.
SafetyWing vs. World Nomads: marked pistes and off-piste are different
Affiliate Disclosure: This article contains affiliate links to SafetyWing and World Nomads. Ski Resort Lessons may receive a commission if you purchase through these links.
| Provider | Relevant recreational snow-sports conditions | What to check |
|---|---|---|
| SafetyWing | Essential lists recreational skiing and snowboarding subject to its conditions, excluding off-piste activity and activity against local safety advice. Complete advertises on-piste injury coverage with a helmet requirement. | Confirm residence eligibility, product, destination and safety requirements. Do not assume an adventure-sports add-on removes the off-piste exclusion. |
| World Nomads | Options may include off-piste skiing or snowboarding within resort boundaries, depending on residence and plan. The US page lists in-bounds on-piste and off-piste activity under Standard, with broader activities under Explorer. | Read the wording for your residence and selected activity. Some markets require a winter-sports upgrade; closed terrain and backcountry are separate questions. |
These summaries follow SafetyWing's sports FAQ, its Complete product information and World Nomads' US snow-sports guidance. Complete has a 12-month commitment, so compare duration and enrollment requirements with your vacation.
An insurer's activity list does not make a storm safe. Check medical evacuation, rescue exclusions, deductibles, pre-existing-condition rules and assistance procedures. For Northstar, confirm US coverage. Stay on suitable open terrain and follow local instructions regardless of what a policy may cover.
Frequently asked questions
What goggle color is best for flat light?
Yellow, amber and rose tints are common low-light options, but color alone does not decide suitability. Check the exact lens's VLT, intended conditions and fit. No tint guarantees safe visibility in fog or a whiteout.
Can a high-VLT lens make dense fog safe to ski through?
No. It can let more available light reach your eyes, but it cannot remove fog or restore missing terrain information. If you cannot control your descent within what you can see, stop and reassess the plan.
Should I ski into the trees for better contrast?
No. A tree-lined marked piste and skiing among trees are different activities. Do not leave the route or approach tree wells in search of visual reference points.
Should I follow the person ahead if I cannot read the slope?
Do not rely on another person's track or movement as proof that you can descend safely. Maintain your own observation and control, and tell your instructor if you cannot see enough to continue.