How to Layer for Sub-Zero Skiing in Hokkaido, Colorado & Whistler Without Overheating or Freezing
Learn how to layer for skiing in Hokkaido, Colorado and Whistler. Manage sweat, protect against wind and wet snow, and plan private lessons at your pace.
Ski Resort Lessons
You feel warm carrying your skis from the rental shop. Ten minutes into the lesson, your back is damp. Then the chairlift climbs into the wind, and the same outfit suddenly feels inadequate.
Learning how to layer for skiing means planning for those changes. Start with a moisture-managing base layer, add adjustable insulation and use an outer layer that protects against the day's wind and precipitation. Adjust early, before you become sweaty or chilled, and keep a dry spare layer available.
That system works for skiing and snowboarding, but the combination changes with the forecast, your activity and how readily you feel cold. There is no outfit that guarantees comfort through every Hokkaido storm, Colorado cold snap or wet Whistler afternoon.
Here, sub-zero means below 0°C, or 32°F. Always check the temperature units in a forecast: 0°F is approximately −18°C, a very different starting point for planning.
Think in three functions, not three mandatory garments
A layering system needs to manage moisture, retain warmth and block weather. Those functions might come from three garments, or from a base layer, a fleece and an insulated ski jacket. Count the insulation you already have before adding more.
| Layer | Main job | Practical starting options | Check before leaving |
|---|---|---|---|
| Base layer | Manage moisture next to the skin. | Merino wool or synthetic thermal top and bottoms. | Comfortable fit, without bunching or restriction. |
| Insulation | Retain warmth while allowing adjustment. | Fleece or an insulating jacket suited to the conditions. | Room to move without compressing everything beneath the shell. |
| Outer layer | Protect against wind, snow and rain. | Ski jacket and pants with appropriate weather protection. | Closures, cuffs, vents and enough room for your chosen insulation. |
The National Park Service explains these three clothing functions. Its advice also emphasizes fabrics that dry readily rather than clothing that stays wet after exertion.
Base layer: avoid starting with a cotton T-shirt
A cotton shirt may feel comfortable indoors, but it is a poor foundation for a stop-start day in the snow because it retains moisture. Choose wool or synthetic clothing intended for active use, and keep a dry replacement available if the first becomes damp.
A thicker base layer is not automatically the better choice. Consider the warmth of your midlayer and jacket together, and whether you will spend much of the lesson moving or standing still.
Midlayer: make warmth easy to adjust
A fleece or insulating jacket should be easy to add or remove during a sheltered stop. Avoid packing so much underneath your outerwear that your shoulders cannot move comfortably.
If your ski jacket is already insulated, you may need less underneath than someone wearing a shell. Check the complete outfit at home: bend your knees, reach forward and raise your arms. If the clothing pulls tightly or restricts movement, reassess the fit.
Outer layer: wind protection and moisture protection both matter
Your jacket and pants need to suit the actual conditions. Wet snowfall, rain and sitting or kneeling in snow make water protection especially important. A dry-looking morning does not remove the need to check what is forecast later.
The National Park Service's winter-safety guidance recommends adjustable insulation under a windproof outer layer. For skiing, choose an outfit that also lets you protect yourself from precipitation without overheating during effort.
Hokkaido, Colorado and Whistler: what should change?
Use the destination as a planning clue, then let the day's mountain forecast decide. A seasonal reputation is not a forecast for your lesson.
| Destination and example situation | Clothing priority | Adjustment to plan |
|---|---|---|
| Hokkaido: a cold, snowy day at Rusutsu | Warmth during lift rides, covered skin and dry spare accessories. | Carry removable insulation and a replacement neck covering or gloves if they become wet. |
| Colorado: a sunny morning followed by an exposed, windy lift at Aspen Snowmass | Adjustability between active descents, sunshine and wind exposure. | Vent before overheating; close vents and check coverage before the lift. |
| Whistler: wet snow lower down, colder conditions higher up | Weather protection and keeping insulating layers dry. | Reassess damp gloves and clothing at sheltered breaks rather than adding insulation over wet gear. |
These are examples to prepare for, not claims that every winter day follows the same pattern.
Hokkaido: prepare for cold without dressing for a photograph
Hokkaido's cold winter climate is part of its snow appeal, as described by the Japan National Tourism Organization. For a lesson at Rusutsu, think about time spent listening, practicing slowly and riding lifts as well as the moments when you are working hard.
Choose an adjustable outfit, protect your face and keep an extra dry accessory accessible. If you are a beginner snowboarder, consider how much time your gloves and pants may spend in contact with snow while you learn to get up and move around.
Tell your instructor when you begin to feel cold. Waiting until numb fingers make equipment difficult to handle is not a useful learning strategy. Arrange private ski or snowboard lessons in Rusutsu and discuss the weather, meeting point and break plan before your session.
Colorado: do not let a warm village walk choose your outfit
Walking in sunshine can feel different from sitting on an exposed chairlift. Check conditions at the elevations you expect to use, including wind and any weather warnings, rather than dressing from the hotel window alone.
For Aspen Snowmass, pack a removable warm layer and discuss the day's route with your coach. If a practice exercise requires repeated effort, adjust ventilation before your base layer becomes soaked. Once stationary, reassess the warmth you need.
You can arrange private lessons in Aspen Snowmass around your level and preferred pace. A suitable practice area and planned breaks are part of the conversation, alongside which movements you want to learn.
Whistler: manage moisture as carefully as temperature
A mountain day can bring different conditions at different elevations. When the forecast suggests wet snow or rain on part of your route, check jacket and pant protection, glove condition and your plan for drying or changing items.
Do not assume that a mild village temperature makes an upper-mountain lesson mild too. Equally, do not wear every insulating garment you own because the destination is in Canada. Look at the mountain forecast, precipitation and wind together.
Ask about sheltered breaks and the appropriate way to finish your lesson if your clothing becomes wet. Adding another warm layer does not resolve a soaked base layer indefinitely.
How to stop the sweat-then-shiver cycle
The most useful clothing adjustment often happens before the problem feels urgent. Check your comfort whenever the activity changes, rather than waiting until the next long run is over.
| Moment | What to check | Useful response |
|---|---|---|
| Carrying equipment or walking uphill | Are you becoming noticeably hot? | Slow down and adjust ventilation at a safe stopping place. |
| Practicing repeated turns or getting up from the snow | Is clothing beginning to feel damp? | Tell the coach and take a sheltered clothing break if needed. |
| Before a cold lift ride | Are vents open and skin exposed? | Restore suitable protection before boarding, while safely stationary. |
| Inside a warm lodge | Are you still bundled up and sweating? | Remove or open outer layers and deal with damp items. |
| Before going outside again | Are gloves, base layers or socks wet? | Change what you can and reassess the next part of the day. |
The Canadian Centre for Occupational Health and Safety explains that cold-weather clothing should match exertion and conditions, with layers adjusted to limit excessive sweating. Its general principles also apply to the changing effort of a recreational mountain day.
Make clothing changes while safely stopped. Do not unzip pants, remove gloves or reorganize your pack while moving through a lift line or descending a piste.
Gloves, socks and helmet fit can make or break the outfit
Hands and face
Choose insulated gloves or mittens with protection suited to the weather. Mittens can be a useful option for people whose hands get cold, but you still need to operate equipment safely. Carry a dry spare if possible.
Cover exposed skin in cold, windy conditions, and replace a wet face covering when practical. Keep clothing compatible with goggles rather than blocking their ventilation or directing every breath upward into the lens.
The National Weather Service's cold-weather guidance emphasizes covering exposed skin, staying dry and seeking shelter from wind. Its wind-chill explanation is a useful reminder that the air temperature alone does not describe exposed-skin cooling.
Feet and boots
Start with a ski or snowboard sock that suits the fit of your boots. Do not automatically add another thick pair when your toes feel cold: extra bulk can make the boot too tight.
Ask the rental team to check persistent pressure, numbness or an uncomfortable fit. The CCOHS cold-environment guidance notes that overly thick socks can compress inside boots and restrict circulation. Keep spare dry socks for a change if needed.
Head protection
Use a properly fitted snow-sports helmet. If you add a liner or balaclava, follow the helmet manufacturer's guidance and recheck the fit. A bulky hat that changes how the helmet sits is not a substitute for a suitable helmet setup.
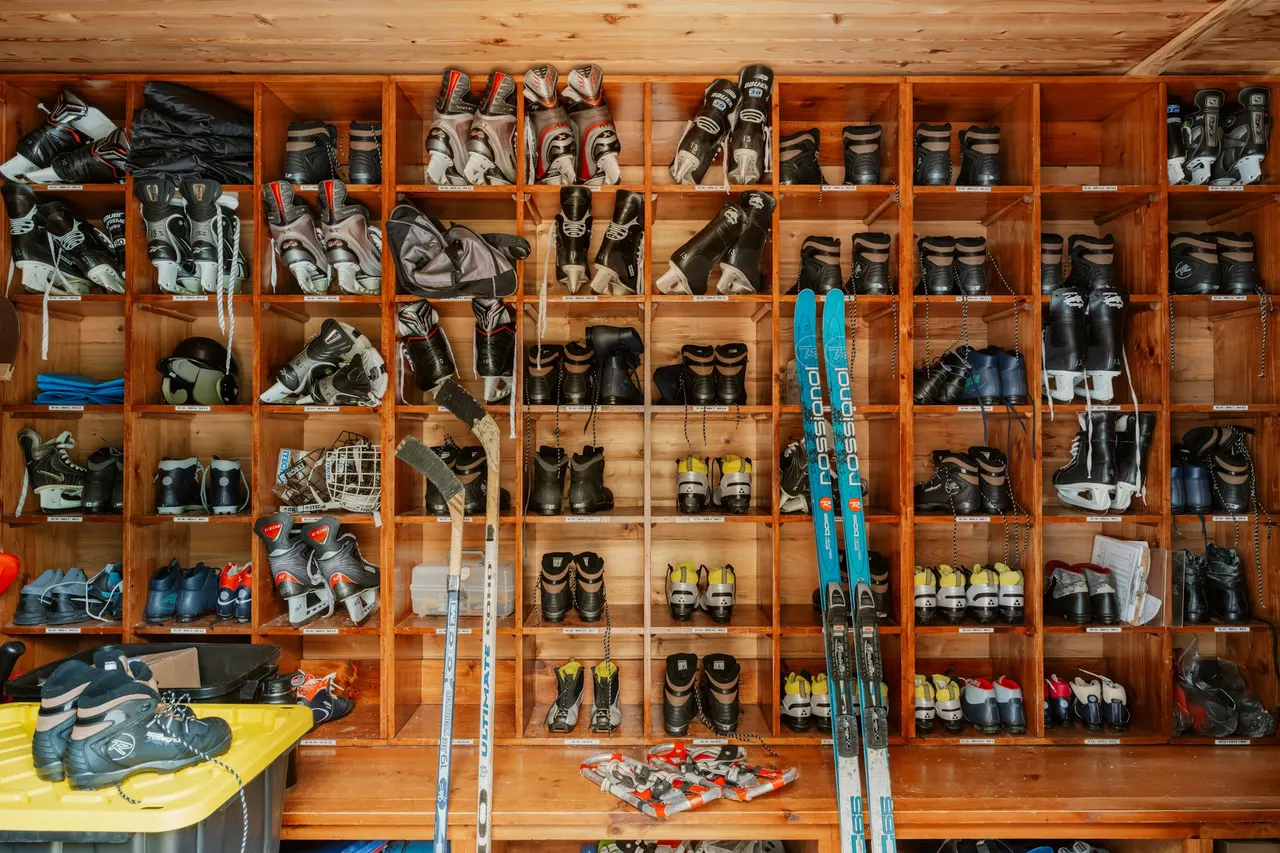
Ask the rental team to check helmet and goggle compatibility before you head out. Headwear should keep you comfortable while preserving the equipment's intended fit and protection.
A practical packing list for a private lesson
Organize your clothing so that an adjustment is possible without returning to your accommodation. Confirm storage options and what you can carry comfortably before meeting your instructor.
A wool or synthetic base-layer top and bottoms.
Adjustable insulation appropriate to your jacket and forecast.
Weather-protective ski jacket and pants.
Suitable socks, plus a dry spare pair.
Insulated gloves or mittens, ideally with a dry spare.
A neck covering or compatible balaclava, plus a replacement if needed.
A properly fitted snow-sports helmet and goggles.
An additional warm layer, kept dry, for changing conditions or a longer stop.
Check what your rental booking includes. Ski or snowboard equipment rental does not necessarily include clothing, gloves or every accessory. Test the full outfit before the first lesson rather than discovering a missing item at the meeting point.
How private coaching helps you manage pace and breaks
Beginners alternate between moving, listening, standing and getting up. Someone working hard on a large braking wedge may overheat while a companion waiting nearby feels cold. A rigid group timetable does not always suit both people.
In a 100% private lesson, you can tell the instructor that you need to change a layer, replace damp gloves or take a warming break without trying to keep pace with a commercial group of ten unfamiliar people. An experienced coach can also address a tiring stance and choose a more suitable practice task.
Lessons entirely in English, Spanish or Portuguese help you explain discomfort and understand corrections. They support learning and fatigue management, but they do not guarantee protection from cold injury or make severe weather safe.
Ski Resort Lessons is an independent online platform connecting clients with qualified, experienced independent ski and snowboard instructors. It is not the resort-owned official ski school.
Private lesson prices in the United States and Canada
Sessions start at $449 USD for a three-hour half day or $599 USD for a six-hour full day, for one person. Add $100 USD for the second participant and $50 USD for each additional participant, up to four beginners or six intermediate or advanced participants.
For example, four beginners sharing a three-hour session pay $649 USD total, or $162.25 USD per person. A full-day booking gives you more scheduled time, not a reason to ignore cold, fatigue or pain.
Coordinate meeting points, passes and equipment rental directly by WhatsApp before the lesson. Passes and equipment are separate arrangements. For Japan, request availability and a quote for your resort and dates through the booking process and WhatsApp.
SRL's 100% Weather Guarantee provides free rescheduling or a full refund if the resort closes its slopes because of a storm. It does not apply automatically whenever you feel cold or choose to finish early.
When another layer is not enough
Persistent cold or wet clothing is a reason to stop and reassess the day. Numb fingers, unusual clumsiness or confusion are not problems to solve by squeezing in one more run.
The CDC's frostbite guidance identifies numbness, unusual skin color and firm or waxy skin as warning signs. Tell your companion or instructor, get out of the cold and seek medical attention. Do not rub the affected area or apply direct heat.
Shivering, exhaustion, fumbling hands, slurred speech, confusion and drowsiness can indicate hypothermia. The CDC advises immediate medical attention for these signs. Contact ski patrol or emergency services and move to shelter safely; someone confused or unsteady should not attempt to ski down alone.
Wet conditions matter even when the temperature does not seem extreme. The CDC explains that hypothermia can occur when someone becomes chilled by rain or sweat, including at temperatures above freezing.
Why winter-sports medical insurance belongs on the packing list
Good clothing reduces avoidable exposure, but it cannot prevent every cold injury, fall or collision. A serious incident can lead to assessment, transport and hospital treatment beyond the cost of a simple clinic consultation.
For a documented Whistler-region example, BC Emergency Health Services lists charges for people without provincial medical coverage of CAD 848 for ground ambulance transport and CAD 4,394 per hour for helicopter ambulance service. These are transport charges, not a routine base-clinic fee or a quotation for your case. See the published ambulance rates, checked November 3, 2026. Rates may change.
That shows how an incident requiring transport can involve thousands before all treatment costs are known. It does not mean that every minor cold complaint or clinic visit costs that amount.
SafetyWing vs. World Nomads: check the activity and the policy
Affiliate Disclosure: This article contains affiliate links to SafetyWing and World Nomads. Ski Resort Lessons may receive a commission if you purchase through these links.
| Provider | Relevant skiing and snowboarding conditions | What to confirm |
|---|---|---|
| SafetyWing | Essential lists recreational skiing and snowboarding subject to its conditions, excluding off-piste activity and activity against local safety advice. Complete advertises on-piste injury coverage with a helmet requirement. | Your residence, selected product, destination cover and safety requirements. Do not assume an adventure-sports add-on removes the off-piste exclusion. |
| World Nomads | Options may include off-piste skiing and snowboarding within resort boundaries, depending on residence and plan. The US product page lists in-bounds on-piste and off-piste activity under Standard, with broader activities under Explorer. | The wording issued for your residence and intended activity. Some markets require a winter-sports upgrade; closed terrain is not automatically eligible because it lies inside a resort. |
These descriptions follow SafetyWing's sports FAQ, its Complete product information and World Nomads' US snow-sports guidance. SafetyWing Complete has a 12-month commitment, so compare duration and enrollment conditions with your trip rather than treating it as interchangeable with a short-trip policy.
Ask about treatment for cold-related illness as well as ski and snowboard accidents. Confirm evacuation, assistance procedures, deductibles, pre-existing-condition rules and US coverage for a Colorado trip. A reference to winter sports is not a guarantee that every frostbite, hypothermia or rescue claim will be accepted.
Frequently asked questions
How many layers should I wear skiing?
Think about moisture management, insulation and weather protection rather than a fixed number. An insulated jacket already contributes warmth. Adjust the complete outfit for your activity, forecast and comfort, and keep a removable dry layer available.
Can I use the same clothes for Hokkaido, Colorado and Whistler?
You may be able to use the same adaptable base system, but reassess insulation, water protection and accessories for each day's conditions. Do not assume your previous trip's outfit is automatically right for the next destination.
Why am I cold after sweating on a run?
Damp clothing and reduced activity on the lift can change how warm you feel. Adjust before overheating, deal with wet layers during sheltered breaks and stop if you cannot stay warm. More clothing over a wet base is not always the solution.
Should I keep skiing if my toes are numb?
Stop, tell your instructor or companion and get somewhere sheltered for assessment. Boot fit and cold exposure both need attention. Persistent numbness or skin changes warrant medical advice; do not assume another run will restore feeling safely.